
Last updated October 17, 2026
 Metal roofing
 Architectural shingles
 Tile roofing
 GAF
GAF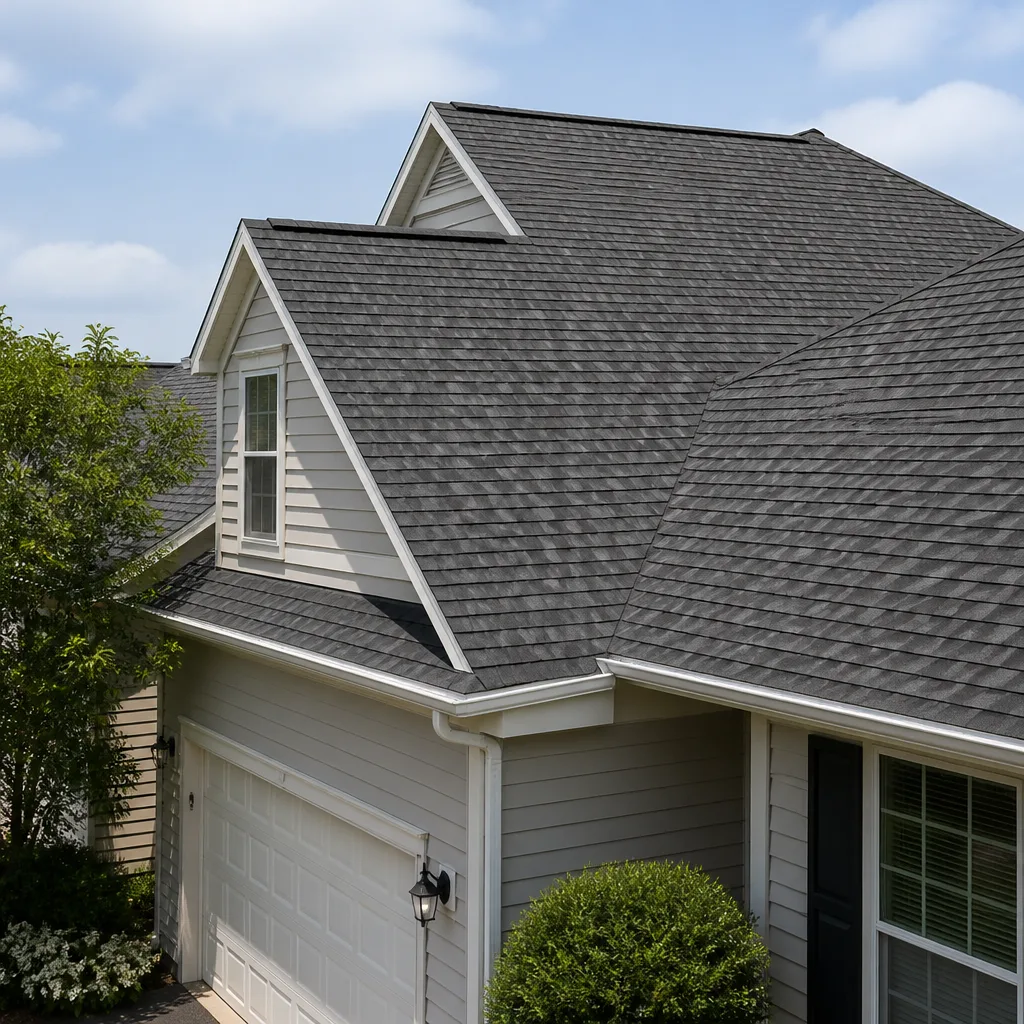 Owens Corning
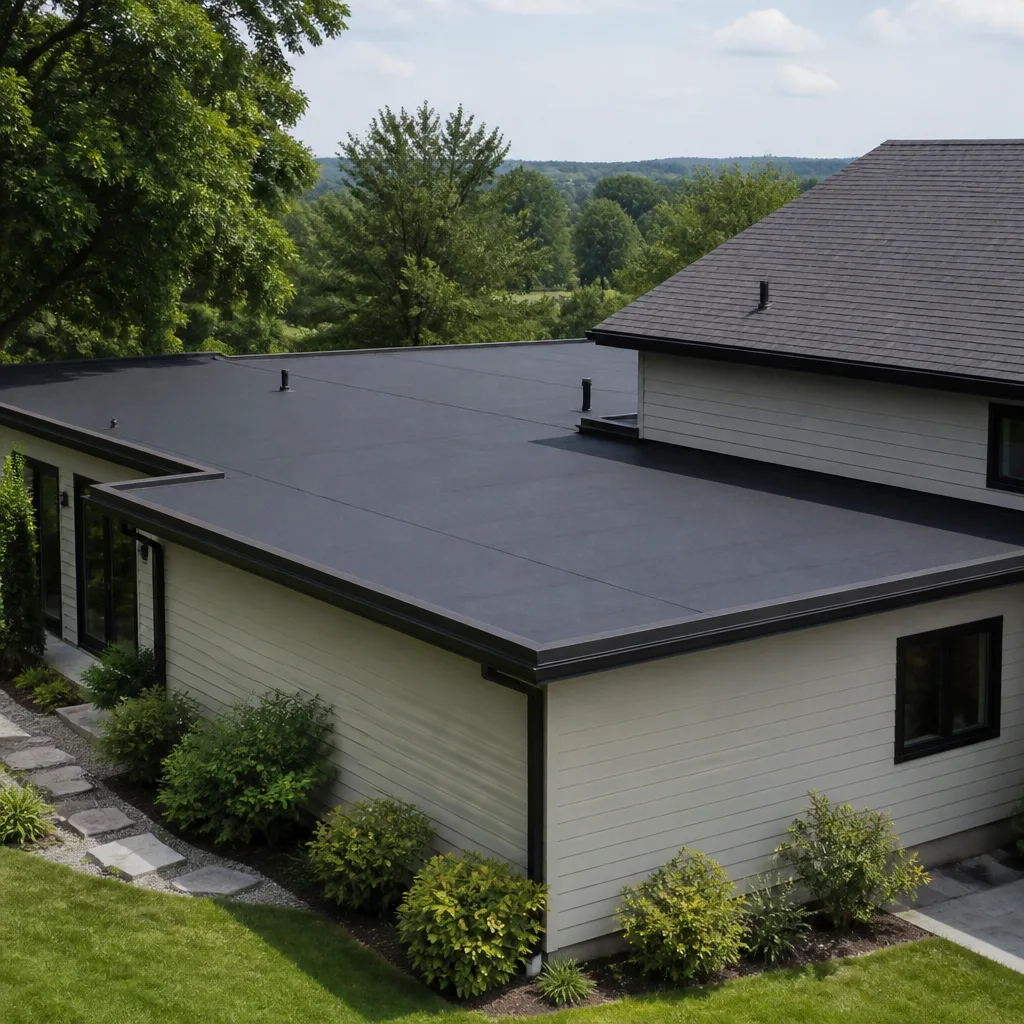 Flat & low-slope
Free roof inspection with deck photos before we talk money - GAF and Owens Corning certified installation
Roofing Company Maintenance Checklist for Sacramento Homeowners
Here’s a number that should make every Sacramento homeowner pause: a typical roof replacement in our area runs between $12,000 and $18,000 for a standard asphalt shingle roof, while the flashing repair that could have prevented it often costs between $350 and $600. The single most expensive roofing mistake Sacramento homeowners make isn’t skipping maintenance. It’s doing a visual check, not knowing what they’re actually seeing, and watching a $400 flashing fix sit unnoticed until it becomes a $14,000 deck replacement. This checklist is built specifically for you, the homeowner standing in your driveway looking up, not for a roofing crew with thirty years of trade experience. By the time you finish reading, you’ll know exactly what to look for, when to look for it, what’s a watch-it situation, and what’s a call-someone-today situation.
Quick Answer
A Sacramento homeowner’s roof maintenance checklist should include: inspecting ceilings and attic spaces for water stains after the first fall rain, checking flashing around chimneys and vents twice a year, clearing gutters and valleys in late October before rain season, examining concrete or clay tiles for cracked mortar and lippage each spring, trimming overhanging trees, and documenting everything with dated photos. Most repairs caught early cost $350 to $1,200 in Sacramento, while ignored problems routinely exceed $10,000. The key is knowing what pass and fail actually look like.
Styles & brands we work with
Table of Contents
- Before You Climb: The Ground-Level Walkaround
- The Room-by-Room Interior Check After First Rain
- Tile Roof Inspection: What Asphalt Checklists Miss
- The Sacramento Maintenance Calendar: October vs. April
- Documenting Your Roof: The Insurance-Ready Baseline
- How to Evaluate a Maintenance Quote Without Getting Played
- Common Mistakes to Avoid
- When to Call a Professional
- Frequently Asked Questions
Before You Climb: The Ground-Level Walkaround
The most useful roof inspection you’ll do all year starts with both feet on the ground. You don’t need a ladder to catch 70% of developing problems. Walk to each corner of your property in Sacramento, look up, and work through these items with a pair of binoculars if you have them. Every item here is marked pass or fail so you’re not left guessing.
1. Shingle Condition: Pass/Fail
Pass: Shingles lie flat against the roof deck. Edges are straight. Granules are still embedded in the asphalt, meaning the shingle surface looks uniformly textured rather than bald in patches.
Fail: Shingles are curling at the corners, cracked down the middle, or missing entirely. You see bare asphalt showing through where granules have washed away. In Sacramento neighborhoods like Land Park and East Sacramento, where many homes date from the 1950s and 1960s, we regularly see this on roofs approaching their 20th year.
What it means: Curling and cracking mean the shingle has lost its flexibility. The waterproof seal is compromised. This is a watch-it if it’s isolated to a few shingles. It’s a call-someone if it spreads across a full slope, because the underlayment beneath is now doing all the waterproofing work.
2. Flashing: The $400 Fix That Becomes a $14,000 Problem
Flashing is the metal, usually galvanized steel or aluminum, that seals the joints where your roof meets anything that pokes through it: chimneys, vent pipes, skylights, or where the roof meets a wall. In our experience at Tilehurst Roofing Sacramento, flashing failure causes more roof leaks in Sacramento than storm damage ever has.
Pass: Flashing is flat against the structure, with no visible gaps, rust, or lifted corners. Sealant around it is intact, not cracked or peeling.
Fail: Flashing is bent upward, pulling away from the chimney or wall. You see rust streaks. The old sealant looks like dried mud. There’s daylight visible between the flashing and the structure.
What it means: Water follows gravity into the gap. It doesn’t need to be a big gap. A quarter-inch opening at the flashing will funnel hundreds of gallons into your attic during one Sacramento rainy season. The repair is straightforward and typically runs $350 to $600. The deck replacement you’ll need if that leak rots the plywood underneath can run $14,000 or more. This is why “watch the flashing” isn’t a suggestion. It’s the entire game.
3. Gutters and Downspouts: Read Them Like a Report Card
Your gutters tell you what’s happening on the roof itself. If you see a pile of asphalt granules collecting at the downspout, that’s the surface of your shingles washing away. If you see tile chips, those are cracked tiles somewhere above.
Pass: Gutters are clear of debris. Water flows through the downspout during rain. You don’t see granule buildup beyond the normal amount.
Fail: Gutters are sagging, pulling away from the fascia board, or holding standing water. There’s a visible cascade of granules at the downspout outlet. Water overflows the gutter edge during heavy rain.
In Sacramento’s older neighborhoods like Midtown and Curtis Park, we also see plenty of original gutters that have been on the house since the Nixon administration. If yours sag, the fascia board behind them is likely rotting, and that’s a structural problem, not a cosmetic one.
The Room-by-Room Interior Check After First Rain
Wait until Sacramento gets its first real rain of the season, usually in late October or early November. Then do this interior walkthrough. It catches active leaks before they migrate through insulation, drywall, and framing, which is when small problems become expensive ones.
Step 1: Start in the attic. On a bright day, before you do anything else, turn off the attic light and stand in the dark for two minutes. Let your eyes adjust. Look for pinpoints of light coming through the roof deck. Every pinpoint is a potential water entry point. Then, with a flashlight, inspect the underside of the roof decking. You’re looking for dark stains, white mineral streaks, or any wood that looks wetter or darker than the surrounding area. In our experience, leaks begin at joints: where the decking meets the chimney, where vent pipes penetrate, where dormers meet the main roof. Start there.
Step 2: Check the ceilings in every room. Look at the corners first. Water follows the path of least resistance, which means it travels along ceiling joists and drywall seams before it ever shows up as a stain in the middle of a room. Look for faint yellow or brown rings, bubbling paint, or a slight bulge in the drywall. Run your hand over suspicious areas. If the drywall feels softer or colder than the surrounding area, there’s moisture behind it.
Step 3: Check the windows and exterior walls. Not all water intrusion starts at the roof. Clogged gutters overflow and send water down the exterior wall, where it finds its way behind siding and into the wall cavity. Look for peeling paint, water stains under window sills, and dampness in the drywall below windows.
Step 4: Walk the perimeter of every room on the top floor. Look at the baseboards and the floor-to-wall joint. A slow leak that runs down the wall studs will show up here as warping, staining, or a musty smell before it ever shows up on the ceiling. This is where leaks that start at the roof-wall junction announce themselves.
If you find one of these signs, don’t panic and don’t tear out drywall. Mark the location with a piece of painters tape, write the date on it, and call a roofer. The earlier you catch it, the more likely it’s a flashing repair, not a replacement. Our team at Roof Repair in Sacramento has fixed hundreds of these early-catch leaks, and the repair bill is almost always less than $800 when we get to it before water has time to saturate the decking.
Tile Roof Inspection: What Asphalt Checklists Miss
Most roof maintenance checklists are written for asphalt shingle roofs because that’s what most of the country has. But Sacramento has a huge inventory of concrete and clay tile roofs, and they fail differently. If you own a tile roof in neighborhoods like Natomas, Folsom, or Elk Grove, here’s what a generic checklist won’t tell you.
Cracked mortar at ridges and hips. Tile roofs use mortar to bed the tile at the ridges and hips. Over time, Sacramento’s summer heat cycles expand the mortar, and winter moisture contracts it. The result is cracking and crumbling. Look at the ridge line, which is the peak of the roof. Also look at the hips, the diagonal lines where two slopes meet. If the mortar looks cracked, flaking, or missing in chunks, water gets in behind the tile. This is a call-someone-today situation, not a watch-it. Mortar repointing is a specialized repair, and the cost in Sacramento typically runs between $400 and $900 depending on how many linear feet need work.
Lippage. This is a term most homeowners have never heard. Lippage means the edge of one tile sits higher than the tile next to it, creating a small ledge. Walking on a tile roof with lippage breaks the raised edges. It also indicates the tile wasn’t set properly or the underlayment has shifted. From the ground, lippage looks like an uneven, bumpy surface. With binoculars, you can see individual tiles that are no longer in plane with their neighbors. This is a fail. A tile that’s out of plane is a tile that’s taking on water at an angle it wasn’t designed for.
Broken field tiles that look fine from the street. Concrete and clay tile roofs are deceptive from ground level. Hairline cracks run across the tile but don’t visibly displace it, so the roof looks intact. In our experience, Sacramento homeowners with tile roofs discover these only during a professional inspection or after a leak. If you see a tile that looks darker than the ones around it, it’s holding moisture, which means it’s cracked somewhere you can’t see. That warrants a closer look from a professional.
The underlayment clock. Here’s what most homeowners don’t know: the tile on your roof is not the waterproofing. The underlayment beneath it is. Tile sheds water, but it’s the synthetic or felt underlayment that actually keeps your deck dry. If your tile roof in Sacramento is approaching 25 to 30 years old, the underlayment is nearing the end of its service life even if the tiles themselves look fine. When underlayment fails, you don’t see it from the ground. You see it as a water stain in the ceiling. This is why a professional inspection on a tile roof every 3 to 5 years matters more than the same interval on asphalt.
The Sacramento Maintenance Calendar: October vs. April
Sacramento’s climate dictates a two-part maintenance rhythm. We have hot, dry summers that bake the surface of your roof, followed by wet, windy winters that exploit every crack, gap, and worn seal the summer left behind. Here’s what belongs where.
October: Before Rain Season
- Clean gutters and downspouts. Wait until most of the leaves have dropped, usually mid to late October in Sacramento. Debris-filled gutters back water up under the eave, which rots fascia boards and sends water into the roof edge.
- Inspect flashing. This is the most important pre-rain task. Every joint around a chimney, vent, or skylight needs eyes on it before the first storm. A $500 flashing repair in October prevents a $14,000 deck replacement in February.
- Clear roof valleys. Valleys are the V-shaped channels where two roof slopes meet. They concentrate water flow. In Sacramento neighborhoods with mature oak and elm trees, like Land Park and Arden Park, valleys fill with leaves, pine needles, and debris. A clogged valley is the fastest way to create a standing-water situation on the roof surface.
- Check the attic ventilation. Make sure gable vents and soffit vents aren’t blocked by stored boxes, insulation, or pest nests. A poorly ventilated attic traps heat and moisture, which accelerates shingle wear from the underside and can lead to mold.
- Trim overhanging branches. A tree branch that rubs against shingles in a windstorm scrapes off granules. A branch that falls during a Sacramento winter storm can puncture the roof entirely. Trim anything within six feet of the roof surface.
April: After the Last Frost
- Do a full visual inspection from the ground. Winter storms are hard on roofs. Look for missing shingles, cracked tiles, and any flashing that shifted during high winds.
- Check for moss and algae growth. Sacramento’s wet winters create ideal conditions for moss on north-facing slopes and under tree cover. Moss holds moisture against the shingle surface, which shortens the life of the roof. Algae staining is cosmetic but worth noting for documentation.
- Inspect tile roofs for frost damage. Concrete and clay tiles absorb a small amount of water. When temperatures drop below freezing and that absorbed water expands, tiles crack. April’s inspection catches winter frost damage on tile roofs in Sacramento’s colder microclimates, including Folsom and El Dorado Hills.
- Re-secure anything that shifted. Check ridge caps, hip tiles, and any metal flashing that might have lifted during winter winds. A spring tune-up prevents summer heat from baking a small problem into a large one.
This calendar is the rhythm we follow for our maintenance customers at Roofing Company in Sacramento. The October pass catches pre-existing damage so the winter doesn’t turn it into a leak. The April pass catches winter damage so the summer doesn’t bake it into structural failure.
Documenting Your Roof: The Insurance-Ready Baseline
Insurance claims on roofs fail for one reason more than any other: the homeowner can’t prove what the roof looked like before the damage happened. You’re left arguing with an adjuster armed with a denied claim and a roof that looks old, and the insurance company wins by default. Here’s how to build a baseline that protects you.
Step 1: Photograph everything, on a schedule. Twice a year, in October and April, take a full set of photos of your roof from the ground. Use your phone, use binoculars if you have them, and photograph every slope, every flashing location, every chimney, every vent, every gutter run. Store the photos in a cloud folder with the date in the folder name, like “Roof Baseline October 2025.”
Step 2: Include date-stamped context. A photo of your roof by itself proves nothing. Take a photo that includes a newspaper or a phone screen showing the date, and hold it in the frame. Most phones stamp metadata with date and time, which also works, but a visible date marker removes any doubt if the metadata gets stripped.
Step 3: Document known issues. If you know a section of flashing is aging, or you’ve been watching a cracked shingle, photograph it specifically. Write a note with the photo: “Flashing at chimney, south side, cracked sealant observed October 2025, monitoring.” If that flashing fails during a storm and floods your house, you now have a documented pre-existing condition trail. It seems counterintuitive to document problems, but insurance adjusters look more favorably on a homeowner who was monitoring and maintaining than one who claims surprise damage on a roof that clearly hasn’t been touched in fifteen years.
Step 4: Keep repair invoices. Every maintenance repair you do, keep the invoice. It proves the roof was maintained. In a claim, “we just noticed it” is a weak position. “Here’s our documented maintenance history over the last six years” is a strong one.
Step 5: Know your policy’s fine print. Most Sacramento homeowners have replacement-cost-value (RCV) policies, which cover the full replacement cost minus depreciation. Some have actual-cash-value (ACV) policies, which pay only the depreciated value. If you have ACV, your roof is insured for less than you think. Fewer local carriers are offering full RCV on roofs over 15 years old. Read the roof section of your policy. It’s usually one page, and it’s the page that matters when your roof fails.
How to Evaluate a Maintenance Quote Without Getting Played
Bring a roofing company out for a maintenance inspection, and you’re at the mercy of their business model. Some companies sell maintenance as a loss leader with the goal of finding a reason to sell you a replacement. Others do honest work. Here’s how to tell the difference when the quote lands in your inbox.
Red flag one: The quote doesn’t list specific work. A legitimate maintenance quote says things like “replace flashing at chimney, south side, 6 linear feet” or “re-point mortar at hip, north slope.” An upsell quote says things like “maintain roof” or “inspected and serviced roof.” Specific line items mean a roofer actually looked at the roof and identified actual problems. Vague language means they spent ten minutes at the curb.
Red flag two: The repair items are priced without context. Every repair should include a price, a scope, and a reason. If the quote says “repair roof – $2,450” with nothing else, ask for the line-item breakdown. A reputable company will give it to you. At Tilehurst Roofing, we put a written price in your hands before any work starts, and that price is specific. You know what’s being repaired, where, and why. If a company won’t give you that, the reason is almost always that they haven’t actually determined what’s wrong.
Red flag three: Every maintenance visit ends in a replacement recommendation. If a roof is genuinely near the end of its life, replacement is the honest recommendation. But if you had a maintenance visit in April and the company found $200 of work, and now in October the same company is telling you the roof needs full replacement, something is off. Roofs don’t fail in six months unless there’s a catastrophic event. Ask the company to show you the photos and explain the change in condition. If they can’t do that, they’re padding the pipeline.
Red flag four: The quote pressures a signature. Honest maintenance work doesn’t need a hard deadline. If a company tells you the price is only good until Friday, or that they have another crew in the neighborhood tomorrow, or that the damage will double in cost if you wait, walk away. That’s maintenance theater. A legitimate company wants you to make an informed decision. Our customers at Roof Replacement in Sacramento know exactly what the work costs before they sign, and the price doesn’t change because the calendar did.
What honest maintenance pricing looks like in Sacramento. Most asphalt shingle repairs run $350 to $600 per item. Tile repairs run $400 to $900. Mortar repointing runs $400 to $900 per location. A full maintenance visit with minor repairs done same-day typically lands between $450 and $1,200. A quoted replacement under $20,000 for a standard single-family home in Sacramento is fair; over $25,000, get a second opinion. For a deeper look at how these figures break down, see our Roofing Cost Breakdown: The Sacramento Homeowner’s Reference for 2026. These numbers come from the actual work we do in this market, not national averages that include cheaper building costs.
Common Mistakes to Avoid
- Checking the roof from only one side of the house. Sacramento homes have different sun and wind exposure on each slope. The south-facing slope, which bakes in the summer sun, deteriorates faster than the north-facing slope. If you only look from the driveway, you’re seeing half the roof and missing the half that’s failing.
- Assuming tile roofs don’t need maintenance. Tile sheds water well, but the underlayment beneath it ages just like asphalt. A 30-year-old tile roof in Sacramento can look great from the curb and be completely compromised underneath. Get the underlayment inspected.
- Ignoring the attic. The attic is the first place leaks show up, often months before they reach the ceiling below. A homeowner who does an annual attic inspection catches most roof failures in the $500 range. A homeowner who doesn’t catches them in the $10,000 range.
- Painting over water stains. This is the classic Sacramento mistake. A water stain on the ceiling gets painted over, the leak is still there, and the next sign of trouble is a sagging section of drywall. If you see a water stain, find the source before you touch a paint brush. Paint covers the evidence, not the problem.
- Cleaning gutters without checking the roof above them. Gutters full of granules, tile chips, or the odd roofing nail are the roof’s way of telling you something is failing above. Clearing the gutters and calling it done leaves the source problem untouched.
- Replacing a roof without asking about the decking. When you get a replacement quote, ask two questions: “What condition is the decking in?” and “What’s the per-sheet cost if you find rotted decking that needs to be replaced?” Rotted decking is hidden until the old shingles come off, and the per-sheet cost is the most common change order on a Sacramento roof replacement. A good contractor includes it in the quote upfront.
- Assuming one good quote is enough. Sacramento has plenty of honest roofers, and it also has companies that bid low and change the price at the door. Get two or three quotes for any replacement, and insist on a written line-item price before you commit. The companies that refuse are telling you something.
When to Call a Professional
Some findings on a roof inspection are watch items you can manage with your calendar. Others are stop-and-call situations. Call a professional if you see any active leak, which means water staining that’s wet to the touch or growing between inspections. Call if you see multiple missing shingles on the same slope, because the underlayment is now exposed. Call if you see sagging along the ridge line or between rafters, because that’s a structural problem, not a shingle problem. Call if you see flashing that has pulled away from a chimney or wall and you can see a visible gap. And call if you have a tile roof with cracked mortar at the ridges, because water intrusion at the ridge spreads fast. Tilehurst Roofing Sacramento offers free estimates in Sacramento, and we’ll give you a written price before any work starts. Call (279) 348-3049 and we’ll walk you through what we’re seeing.
Frequently Asked Questions
A roof inspection in Sacramento typically costs between $150 and $400, though many reputable companies, including Tilehurst Roofing Sacramento, offer free estimates for repair work identified during the visit. If the inspection is tied to a potential roof replacement, the estimate is often free. Always ask before scheduling so there’s no surprise charge.
For most Sacramento homes, a professional inspection every 2 to 3 years is the right interval, with a homeowner’s DIY visual check twice a year in October and April. For more guides & resources on keeping your roof in top condition, explore our blog. Tile roofs, because of underlayment aging that’s invisible from the surface, should have a professional inspection every 3 years after the roof turns 20. Homes under heavy tree cover, common in Land Park and East Sacramento, benefit from annual gutter cleaning and an annual visual check.
Routine roof maintenance, including a professional inspection, gutter cleaning, and minor repairs like resealing flashing, typically runs between $450 and $1,200 per year in the Sacramento market. A full maintenance visit that includes repointing tile mortar or replacing damaged flashing will run higher, typically between $800 and $1,800. The annual maintenance cost, even at the high end, is a small fraction of the $12,000 to $18,000 a full replacement costs in Sacramento.
Homeowners insurance does not cover maintenance. It covers sudden, accidental damage, which means a storm that tears shingles off is likely covered, while gradual wear, aging, and neglected flashing are typically denied. However, Sacramento homeowners who keep documented maintenance records with dated photos and repair invoices have a much stronger position in any insurance claim, because they can establish a maintained baseline. Before starting any major work, check Roofing Permits, Codes & Inspections in CA: What You Need to Know. Read the roof section of your policy to understand whether you have replacement-cost or actual-cash-value coverage.
The most common roof problem we see in Sacramento is flashing failure, not shingle failure. The long, dry summers bake the sealant around chimneys, vents, and skylights, and the winter rains exploit the cracks that form. Flashing repair runs $350 to $600 in most Sacramento homes and is the single most cost-effective maintenance action you can take.
An asphalt shingle roof in Sacramento typically lasts 20 to 25 years, depending on sun exposure and the quality of the original installation. Concrete and clay tile roofs in Sacramento can last 50 years or more, though the underlayment beneath them typically needs replacement every 25 to 30 years. The south-facing slope in Sacramento ages fastest because it absorbs the most summer heat, so it may need replacement or repair before the rest of the roof. Call (279) 348-3049 for an exact assessment of your roof’s remaining life.
The Bottom Line
Roof maintenance in Sacramento comes down to rhythm and documentation. The rhythm is simple: an October pre-rain check and an April post-winter check, every year, no exceptions. The documentation is your insurance policy, your negotiating leverage, and your memory all in one. Know what flashing failure looks like. Know what a cracked tile means. Know what a water stain in the attic tells you before it reaches the ceiling below. Most repairs caught early in Sacramento run under $1,000. Most replacements run over $12,000. That gap is not about luck. It’s about knowing what you’re looking at when you look up.
Written by Greg Holloway, Owner at Tilehurst Roofing Sacramento, serving Sacramento since 2000.
See the difference
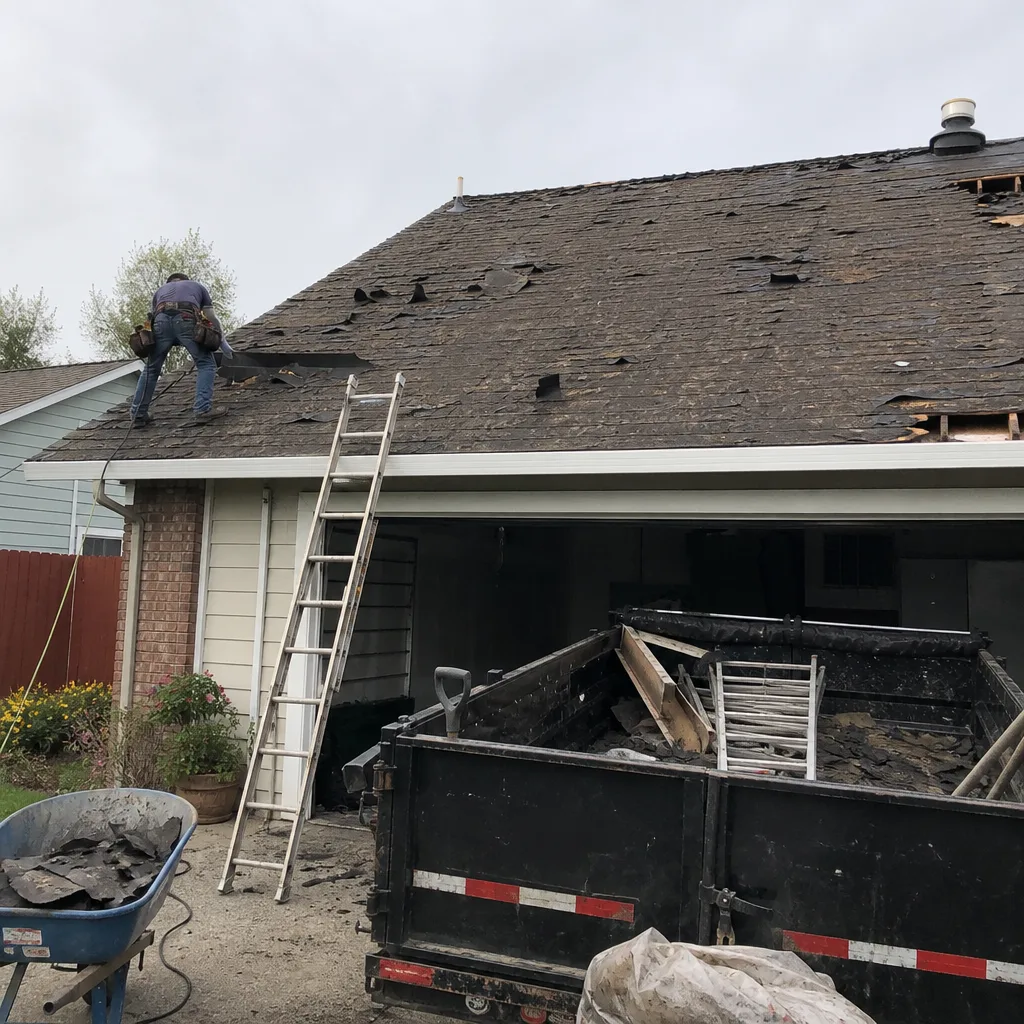 Before
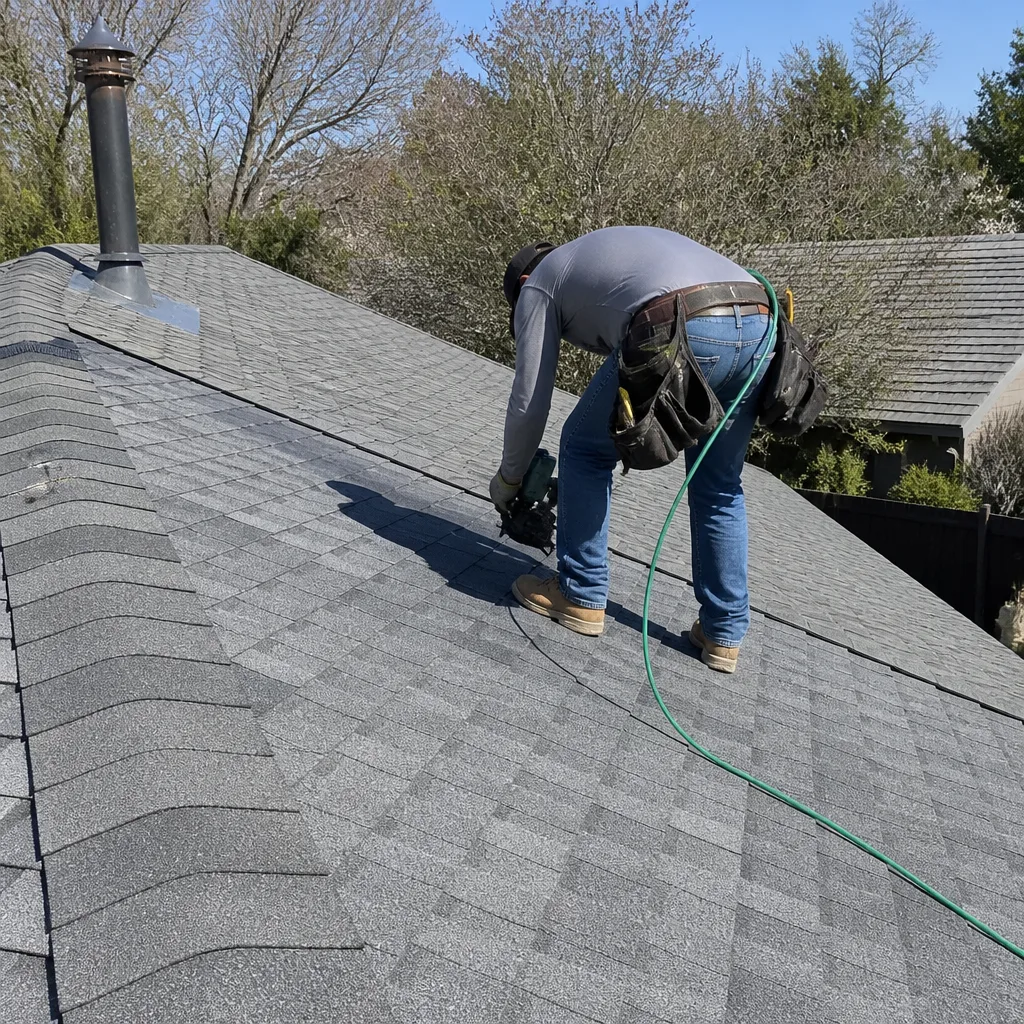 After
After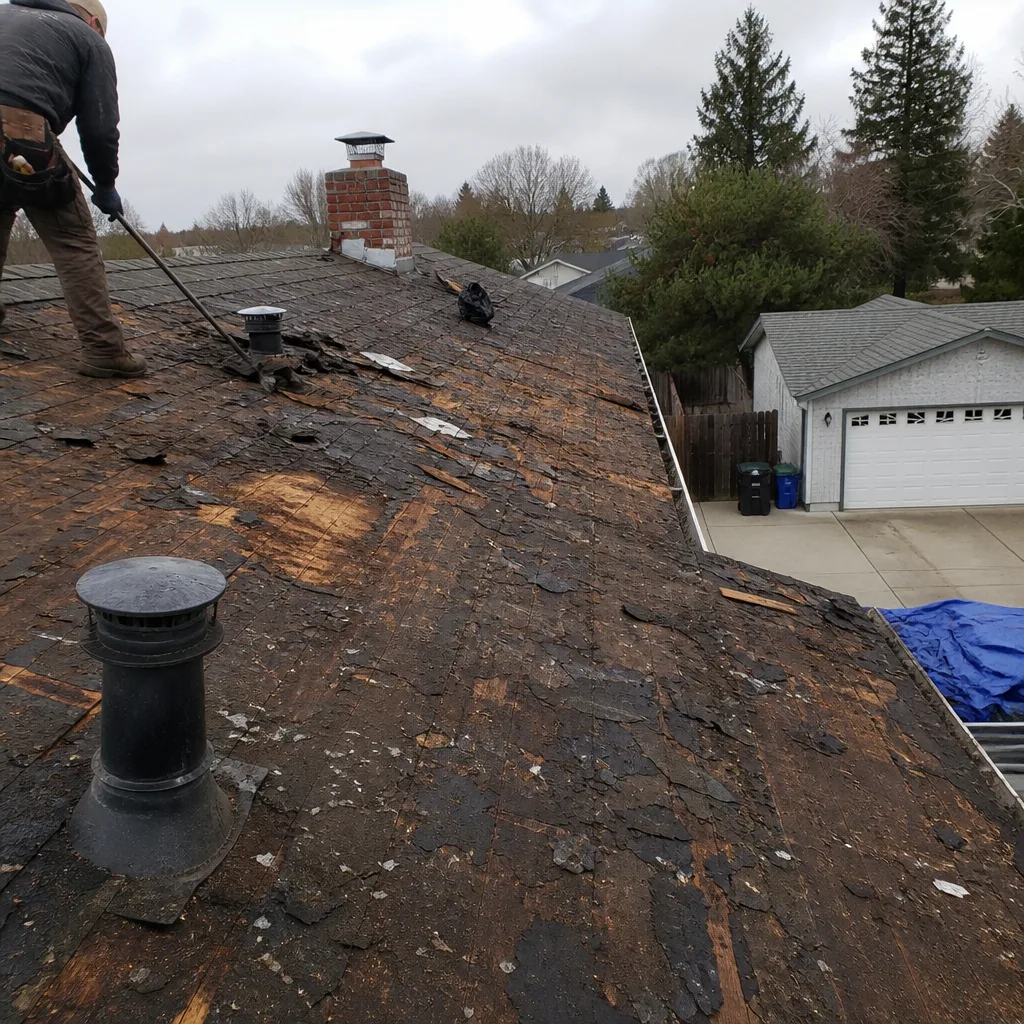 Before
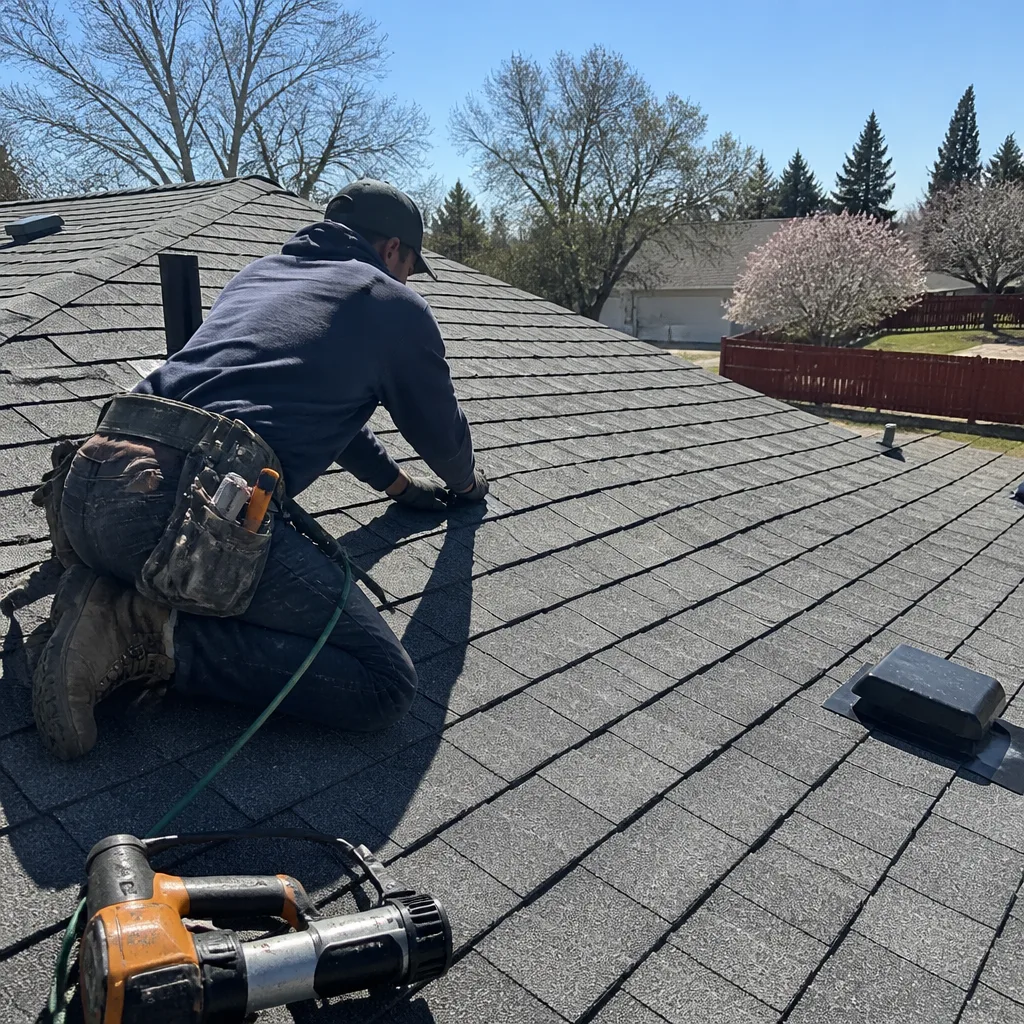 After
After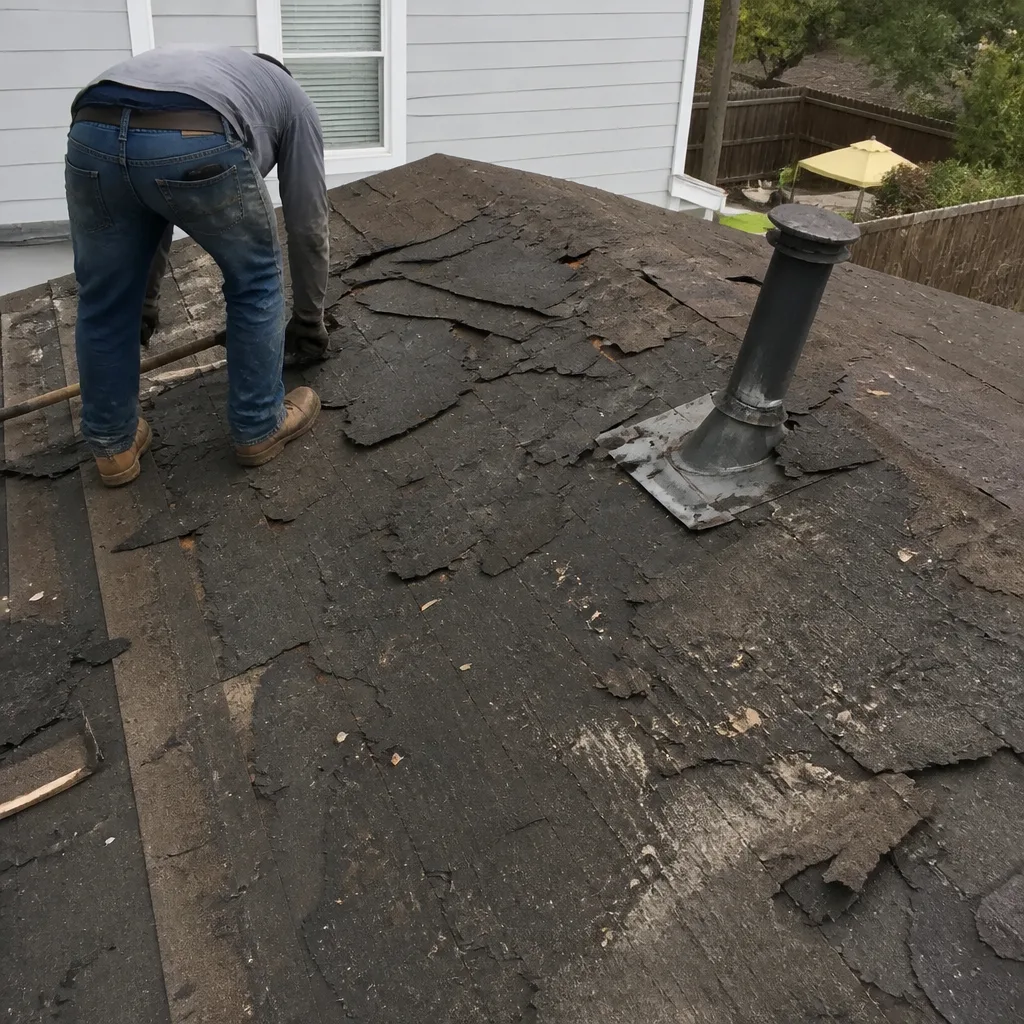 Before
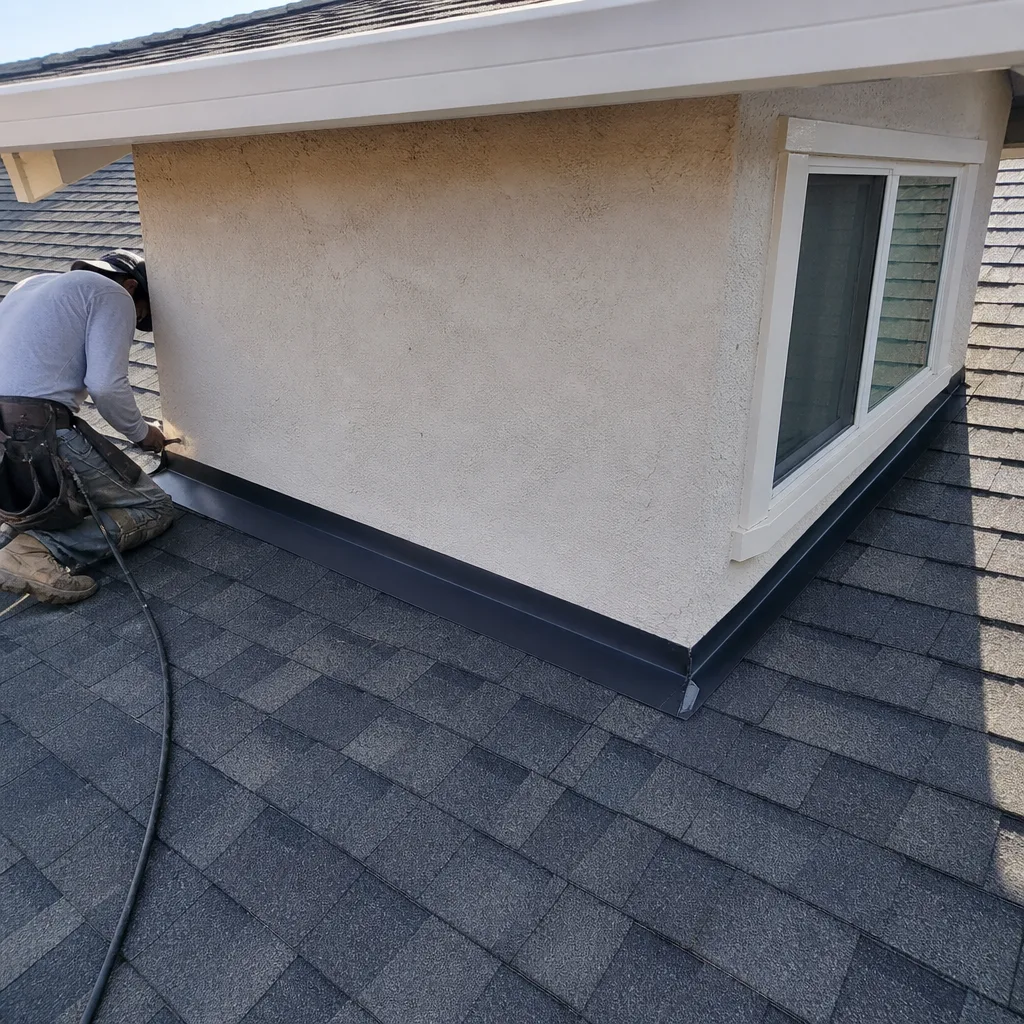 After
After